Create Your Own Weekly Planner
This post contains affiliate links. Which means we may receive a commission for any purchases made through our links. As an Amazon Associate, I earn from qualifying purchases. See our full policy. Thank you for reading this post. Don't forget to subscribe!
A Beginner-Friendly Step-by-Step Guide with Canva
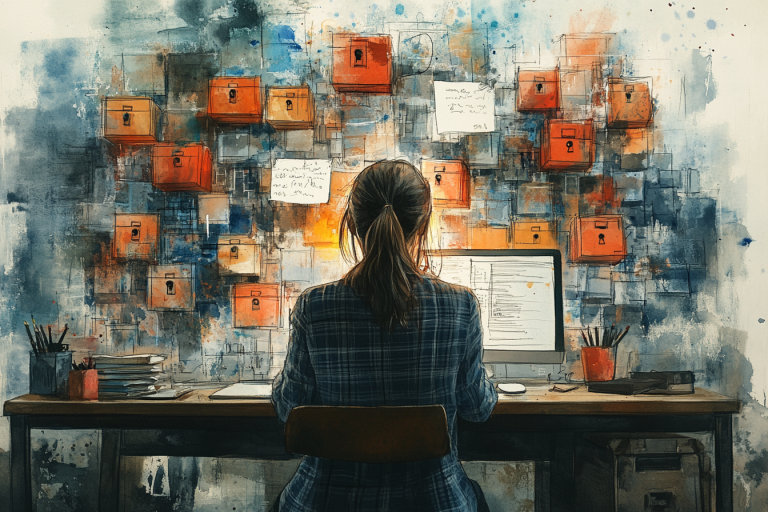
Whether you're a busy mom or side hustling creative, life can get pretty hectic, right? That’s why having a trusty weekly planner is such a game-changer.
Imagine a planner that’s not only functional but also designed by you to fit your style perfectly. The best part? You don’t need to be a design pro to make one. With Canva, it’s easier than ever to create custom dated weekly planner pages that are as unique as you are. Let’s walk through the process together!

Step 1: Setting Up Your Planner Design
First things first, we need a blank canvas! Canva is the perfect tool for this because it’s simple to use and packed with creative features. Start by opening Canva and selecting a custom size for your planner page. Want a tip? Standard planner sizes like 8.5 x 11 inches or A5 work great!
Now, think about the essentials for your layout. Add headers for each day of the week (Monday to Sunday, or Sunday to Saturday—your choice!). Leave spaces for the date, month, and any fun notes or doodles you’d like to include. Have fun with it! Add borders, icons, or even a splash of color to match your vibe. This is your planner—make it you.
This is one of my favorite resources for finding unique fonts and graphics for my creative projects. You'll find lots of resources to make your weekly planner unique.
Step 2: Organizing Your Dates in a Spreadsheet
Here comes the magical part—making those planner pages auto-fill with dates! To do this, you’ll need to organize your dates in a spreadsheet. Don’t worry if spreadsheets aren’t your thing; we’ll keep it simple. Open a new spreadsheet and create columns for:
- Month
- Year
- Each day of the week (Monday, Tuesday, etc.)
Fill in your dates for however long you want your planner to last—a month, a year, or even just a few weeks. The key here is to stay organized so everything lines up perfectly later.
Want to save some time? I’ve created a ready-to-use spreadsheet with all the dates for 2025, available in both Monday and Sunday start formats. Grab it here and get your planner started in no time!
Step 3: Connecting Your Data with Canva’s Bulk Create Feature
Ready for some Canva magic? It’s time to use the “Bulk Create” feature. This tool lets you link your spreadsheet data directly to your design. Here’s how to do it:
- Upload your spreadsheet into Canva or simply copy over the data from your spreadsheet.
- Highlight the placeholders on your design (like the spots for dates) and link them to the corresponding columns in your spreadsheet.
For example, if you have a spot labeled “{Monday},” link it to the “Monday” column in your spreadsheet. It’s like connecting the dots but way more satisfying!
You can watch me use the bulk create feature to create dated planner pages.
Step 4: Generating Your Planner Pages
Once everything’s linked, it’s time for the big reveal. Click “Generate” and watch Canva work its magic! It will create a series of planner pages, each one perfectly dated based on your spreadsheet. This is where your hard work pays off—you’ve just made a beautiful, functional planner with just a few clicks.
Step 5: Fine-Tuning and Adding Your Personal Touch
Now, let’s make it extra special. Take a moment to flip through your pages and check for any misalignments. If you see something off, don’t stress—just tweak your spreadsheet or adjust the design. Once it’s all good, it’s time to get creative again!
Play around with colors, fonts, and graphics. Maybe you want to add a motivational quote at the top of each page or sprinkle in some seasonal decorations. Canva gives you the flexibility to customize to your heart’s content.
Step 6: Save, Print, or Share
You did it! Your planner is complete. Save your design as a PDF for printing or as an image if you want to share it digitally. Whether you use it yourself or gift it to a friend, your custom planner is sure to bring a little extra joy to someone’s day.
You can even import your PDF weekly planner into your favorite notetaking app such as Goodnotes or Zinnia.
Want a ready-made option? Check out my finished weekly planner, designed for personal use and available in my Etsy shop here. It’s perfect if you need a quick and beautiful solution!

A Final Thought…
Creating your own weekly planner isn’t just about organizing your schedule—it’s a creative project that’s uniquely yours. So don’t overthink it. Dive in, try things out, and have fun! And remember, creating planners can be both a fun and profitable project. If you get stuck, feel free to check out our tutorials for tips and tricks.
Happy planning, and here’s to a beautifully organized life!
Additional Resources
Launch your Etsy shop with 40 Free listings.
FREE PRINTABLES
Not ready to buy? Join our Pretty Cute Press VIPs for exclusive access to freebies. By joining our VIPs, you will be subscribed to our newsletter to receive the latest updates and freebies. You may unsubscribe at any time.
By downloading digital downloads you are accepting the copyright terms and permissions that this is for personal use, non-commercial use. Please contact Pretty Cute Press with any questions.